
Want to transform plain glass into stunning art? Glass etching is your ticket to crafting one-of-a-kind pieces that’ll leave friends and family wondering if you’ve secretly enrolled in an art school. With just a few supplies and a dash of creativity, anyone can turn ordinary glass into a masterpiece that sparkles with personality.
Imagine sipping your favorite beverage from a personalized glass that shouts, “I’m fabulous!” or gifting a beautifully etched vase that says, “I care—really!” This DIY project isn’t just about aesthetics; it’s about unleashing your inner artist while having a blast. So grab your tools and let’s dive into the world of glass etching where creativity meets fun and your imagination can run wild.
Overview of Glass Etching DIY
Glass etching serves as an engaging way to personalize glass items. This process offers many possibilities, turning plain surfaces into artistic creations. The materials required are simple and accessible, including glass items, etching cream, stencils, and protective gear.
Etching creams or sprays, used to create designs, allow for detailed patterns. Various techniques exist, from using stencils to freehand designs. Each method provides unique results, allowing creativity to shine through.
Stencils can feature intricate designs or simple shapes. Selecting a stencil that resonates with personal style enhances the project’s outcome. Preparing the surface of the glass by cleaning it ensures better adherence of stencil materials.
Working in a well-ventilated area is crucial when using chemicals. This practice minimizes exposure to fumes associated with etching solutions. Applying patience throughout each step leads to more satisfying results.
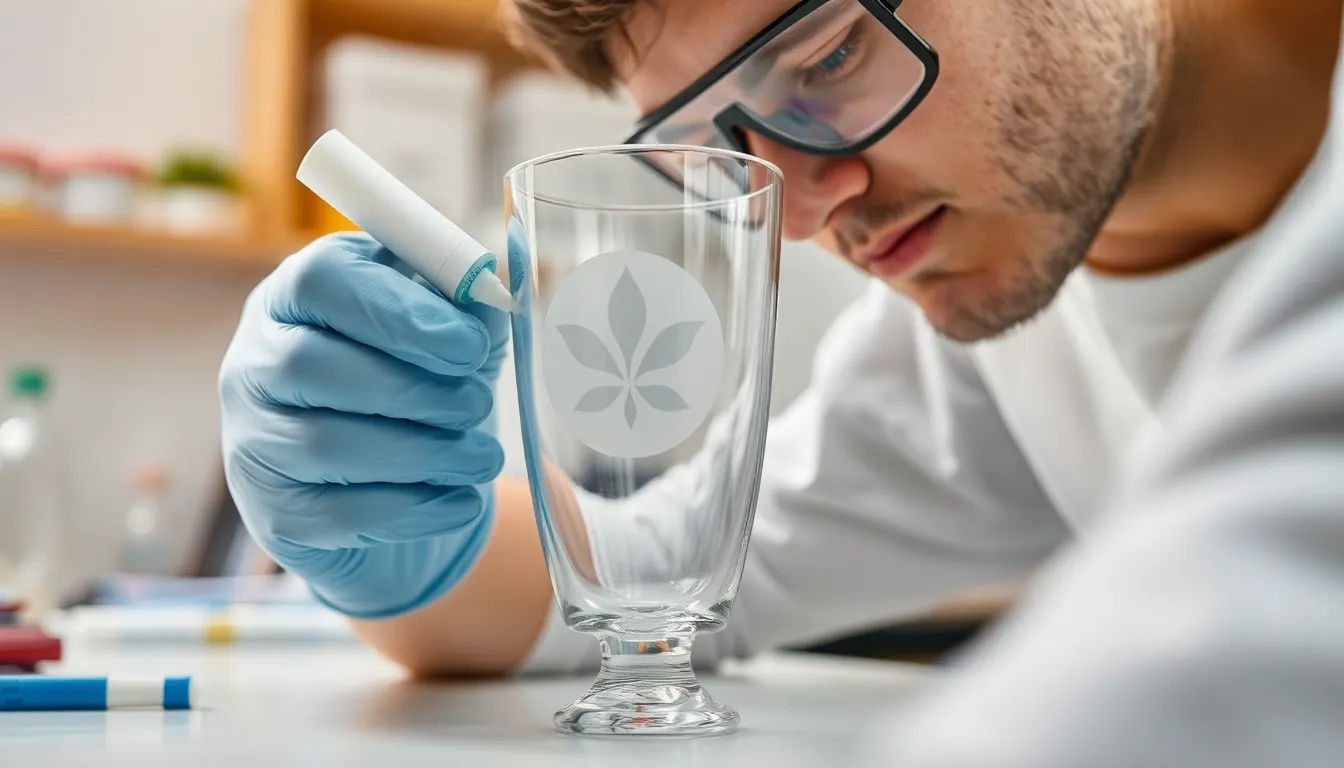
Safety gear, including gloves and goggles, protects during the etching process. Following the manufacturer’s instructions ensures effective use of etching cream.
After completion, rinsing the glass thoroughly removes any residual cream. Allowing the piece to dry offers a polished finish, highlighting the etched design.
Embracing the glass etching DIY process encourages exploration and innovation. With practice, individuals can develop their techniques, creating custom pieces for home decor or gifts. Engaging in this craft nurtures creativity while providing a sense of accomplishment.
Materials Needed for Glass Etching
Glass etching requires specific materials and tools. Gathering these items ensures a smooth and enjoyable project.
Types of Glass Suitable for Etching
Common glass items include windows, bottles, mirrors, and drinking glasses. Each type provides unique etching possibilities. Tempered glass offers additional durability but may need special techniques. Regular glass works well for detailed designs. Make sure the glass surface is smooth, as this helps the etching cream adhere properly.
Essential Tools for Etching
Gathering the right tools is vital for successful glass etching. Etching cream serves as the main medium for creating designs. Stencils come in various styles and patterns, allowing for creative expression. Using a painter’s tape helps secure stencils to the glass. Gloves protect hands from irritation while working, and goggles shield the eyes from splashes. A sponge or soft cloth facilitates cleanup after the etching process.
Step-by-Step Guide to Glass Etching
Glass etching involves several key steps to achieve effective designs. Follow instructions closely to create stunning art pieces.
Preparing the Glass Surface
Start with a clean glass surface. Remove dust, dirt, and grease using a glass cleaner. Ensure the chosen item is dry before proceeding. Apply painter’s tape around edges to protect areas not intended for etching. Selecting a smooth glass surface makes it easier for the etching cream to adhere. Proper preparation enhances the clarity of the final design.
Designing Your Etching Pattern
Choose a design that reflects personal style. Popular options include geometric patterns, monograms, or themed motifs. Utilize pre-made stencils or create custom templates for unique graphics. Assess the size of the glass item while finalizing the design, as scale affects visibility and impact. Position the stencil securely on the glass surface, ensuring it aligns properly.
Applying the Etching Cream
Read the manufacturer’s instructions carefully before use. Use gloves and goggles for safety during the process. Apply the etching cream evenly over the design using a paintbrush for precise coverage. Cover the stencil fully, ensuring no gaps remain, to achieve an even etch. Allow the cream to sit for the recommended time to ensure proper etching before rinsing thoroughly with water.
Tips for Successful Glass Etching
Choose the right glass item for etching. Clear glass provides the best results, allowing designs to stand out clearly. Select sturdy glass pieces such as drinking glasses or mirrors to enhance durability.
Prepare the surface meticulously. Cleaning the glass with rubbing alcohol removes oils and residue, ensuring better adherence of the etching cream. Apply painter’s tape to shield areas that shouldn’t be etched, avoiding accidental marking.
Secure stencils properly to ensure clean lines. Position the stencil and firmly press it down to minimize any leaks of etching cream beneath it. Adjust the placement of the stencil for symmetry and visual balance.
Use etching cream carefully by following the manufacturer’s instructions. Apply a generous layer, ensuring complete coverage over the design area. Let the cream sit for the recommended time for optimal results.
Rinse the glass thoroughly after etching. Use warm water to wash away the etching cream, making sure to remove all residue completely. Dry the glass with a soft cloth to avoid scratches on the design.
Consider experimenting with different techniques. Using freehand designs or layering stencils can add depth and uniqueness to the etching. Explore various patterns or textures to personalize the piece fully.
Practice patience throughout the process. Allow time for creativity to flourish, as rushed designs often lack detail. Take breaks if needed to come back with a fresh perspective.
Repeatedly reinforce safety measures during the project. Always wear gloves and goggles to protect skin and eyes from irritation caused by etching cream. Ensure proper ventilation in the workspace, keeping the area airy and safe for optimal working conditions.
Creative Ideas for Glass Etching Projects
Glass etching projects spark creativity and offer diverse possibilities. Mugs and drinking glasses with personalized designs can elevate everyday use. Consider using initials or names on glassware for gifts that feel special.
Ornaments made from glass can become cherished holiday decorations. A family name etched into a glass ornament presents a thoughtful touch. Picture frames also provide an excellent opportunity to create personalized gifts. Adding a meaningful quote or date can transform a standard frame into a keepsake.
Decorative vases etched with floral patterns enhance home aesthetics. They serve as stunning centerpieces at gatherings and make memorable gifts. You could also etch designs onto mirrors, bringing a unique style to any space. Using intricate patterns can result in an eye-catching focal point.
Furthermore, coasters made from glass can be personalized for any occasion. Designing unique coasters for a housewarming gift can brighten someone’s home. Etching on wine bottles can create custom labels for special events, such as weddings or anniversaries.
For a seasonal project, consider designing glass garden stones. Patterns etched on garden stones can add charm to outdoor spaces. They can even commemorate a heartfelt phrase or memory.
Unique keychains made from small glass pieces serve as practical and personal accessories. Incorporating symbols or initials adds individuality to everyday items. Use creativity to explore various shapes and designs, pushing the bounds of traditional glass etching.
By experimenting with designs and engravings, artists can develop distinctive glass masterpieces. Each project holds the potential for maximum personalization and artistry.
Glass etching opens up a world of creativity and personalization. With simple materials and techniques anyone can transform everyday glass items into stunning art pieces. Whether it’s for personal enjoyment or a heartfelt gift the possibilities are endless.
By following safety guidelines and taking the time to prepare surfaces properly readers can achieve beautiful results. Experimenting with designs and techniques not only enhances the creative process but also leads to unique creations that truly reflect individual style.
Embracing glass etching as a DIY project not only nurtures artistic skills but also brings a sense of accomplishment. So grab those supplies and start etching to create memorable pieces that add a personal touch to any space.